The Main Menu tab is where you create the menu tree for the Main Menu bar.
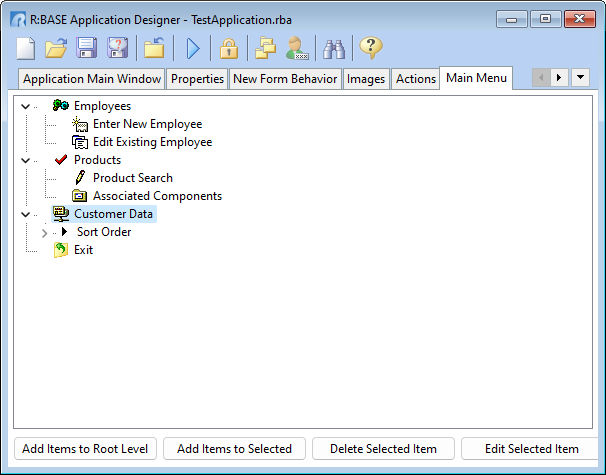
ð Add Items to Root Level
Adds a root level item, or new Main Menu value; like the Employees or Product root level in the "Test Application" sample
ð Add Items to Selected
Adds submenus to the root level of the Main Menu. An example of this would be the options Enter New Employee or Product Search. There is no limitation as to how many levels that you can create. You can also add submenus to existing submenus, which display to the right or left with an arrow character at the end.
ð Delete Selected Item button
Deletes the currently focused menu item. You can delete submenu items one at a time, or you can delete an entire menu tree by selecting the root menu.
ð Edit Selected Item
Displays options to edit the properties of an existing menu item. First place the focus on the menu item in order to edit the properties.
Notes:
•Be sure you have selected the appropriate item before selecting any of the available buttons.
•To create a separator bar between Menu Items, use an Action with a hyphen character (-) for the caption. This will create a separator bar that you can place between Menu Items to create an organized appearance.
•To add a [Alt] hot key to a letter in a Main Menu item option (places an underline beneath the appropriate letter), include an ampersand (&) before the desired letter.
•To display an ampersand character in a caption, you must use two ampersands (&&).