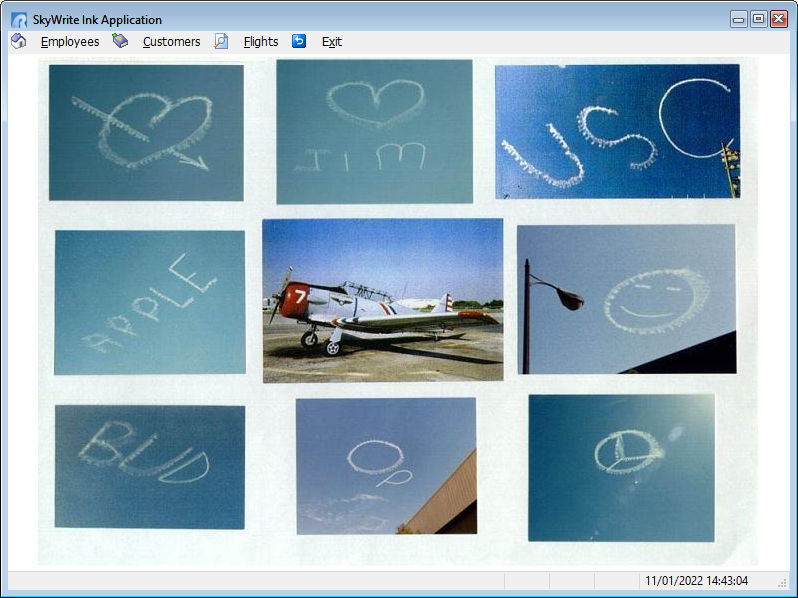
After designing SkyWriteApp on paper, you're ready to build it. The finished SkyWriteApp menu will look like the following:

As you click each Main Menu name, the drop-down menu is displayed and the user selects a menu action to perform.
To begin the R:BASE Application Designer:
| 1. | Begin at the Database Explorer. If the database is not connected, select "SkyWrite" and select the "Connect database" option. |
| 2. | Click the Applications option (it is near the bottom of the Group Bar), then click "New Application...". |
R:BASE displays the dialog "Do you want to use the Application Wizard?"
| 3. | Choose "Yes". |
The first screen in the Application Designer prompts you for the caption for the application window and if you would like to add a wallpaper or a custom icon for the window. For now, we will only add the caption.
| 4. | Enter "SkyWrite Ink Application" in the "Application Caption:" field. |
| 5. | Select the "Next" button. |
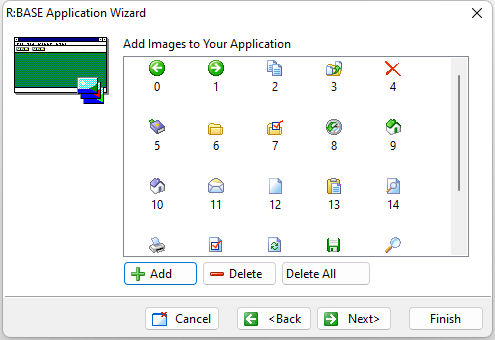
The Application Designer now prompts you to add images to your application to be included with your menu titles and menu options. These images must be .BMP files with the size 16 X 16 pixels. These images must be added one at a time. A collection of sample images are included with the R:BASE 11 installation. You will find the images here: C:\RBTI\RBG11\Samples\BMPS\16x16
| 6. | To add an image, choose the "Add" button, navigate to the sample image directory, choose a bmp file, and click "Open". The image will be added. |
| 7. | Repeat Step 6 to as many additional images as you like. You can also use the operating system to copy a group of bitmaps from the above image folder to your current folder in order to add the images faster by not having to navigate to the image folder for every bitmap. |

| 8. | Once you are done adding images, select the "Next" button. |