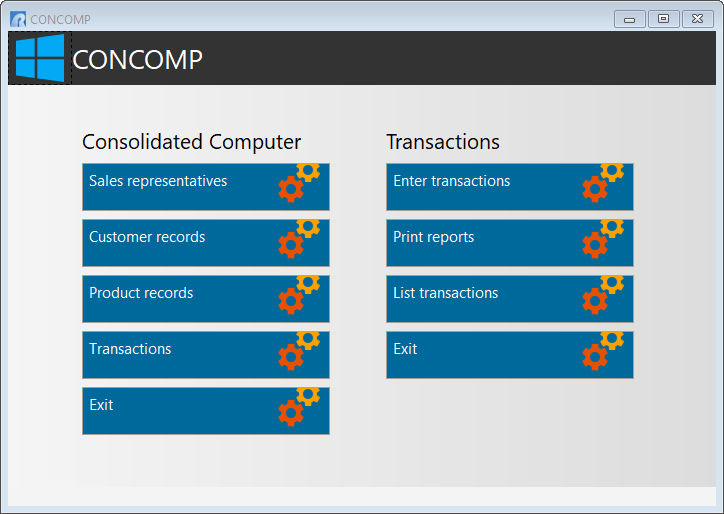
After the conversion, the Tile Menu will be located on the center of the form with menu options placed accordingly. The Tile Menu items displayed should match the $MENU blocks from the originating .APP application file. There may be some menu options that are no longer used. Make a note of the items as this will save time in the process of reviewing and updating the command syntax.
The Tile Menu is a control offering a tile (colored rectangles or squares) interface to create a collection of user interface command groups. A command group typically contains a list of clickable items that invoke commands. The Tile Menu is both a menu control and a container, where the tile and tile group functionality can be used to create a powerful dashboard for an R:BASE application. In the below example image, "Transactions" is a main group, where "Enter transactions", "Print reports", "List transactions", and "Exit" are the tiles.

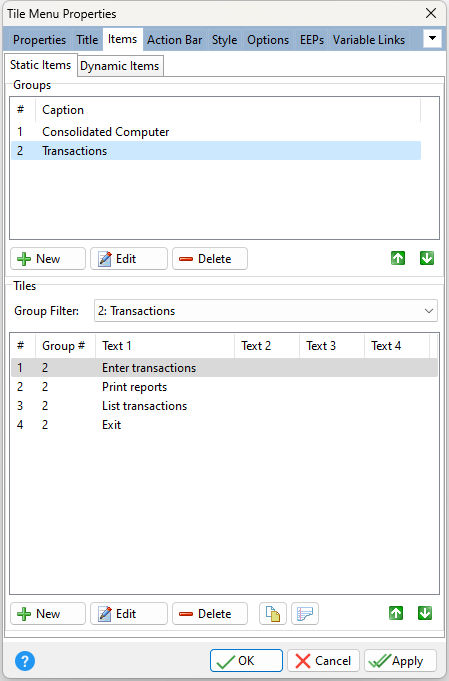
By right clicking on the Tile Menu, and selecting "Object Property [F11], the Tile Menu Properties dialog is displayed. Select the "Items" tab to review the list of group and tile items.

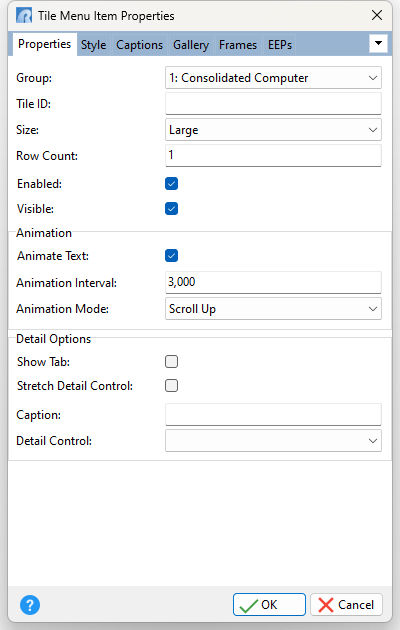
Select a tile item and then the "Edit" button to review the tile item's properties. Under the "EEPs" tab, any command syntax loaded in a tile menu item will highlight the "Edit Custom EEP..." button with a yellow background. Selecting the "Edit Custom EEP..." button will display the stored command syntax. Before running the external form and selecting any menu options, the command syntax must first be checked. If no syntax was loaded into the EEP, then the button background will not be yellow. The command syntax would then be loaded into the Custom Form Actions. Select "Layout" > "Custom Form Actions" from the main menu bar to review the command syntax.
